
I think most of us felt ‘de-railed’ by the covid19 virus during the past year. I am thankful for good health; the virus did not touch my immediate family. It certainly changed a lot for all of us, though, didn’t it?
In better news, I used this ‘year of quarantine’ to tackle a lot of needed tasks, primarily searching out my house for a massive purge. What a job that has turned out to be. We’ve been here almost 24 years, and raised 3 kids here along the way. I have shifted everything from cartons of old paper filing to a piano! Hope you’ve made good use of your time, too.
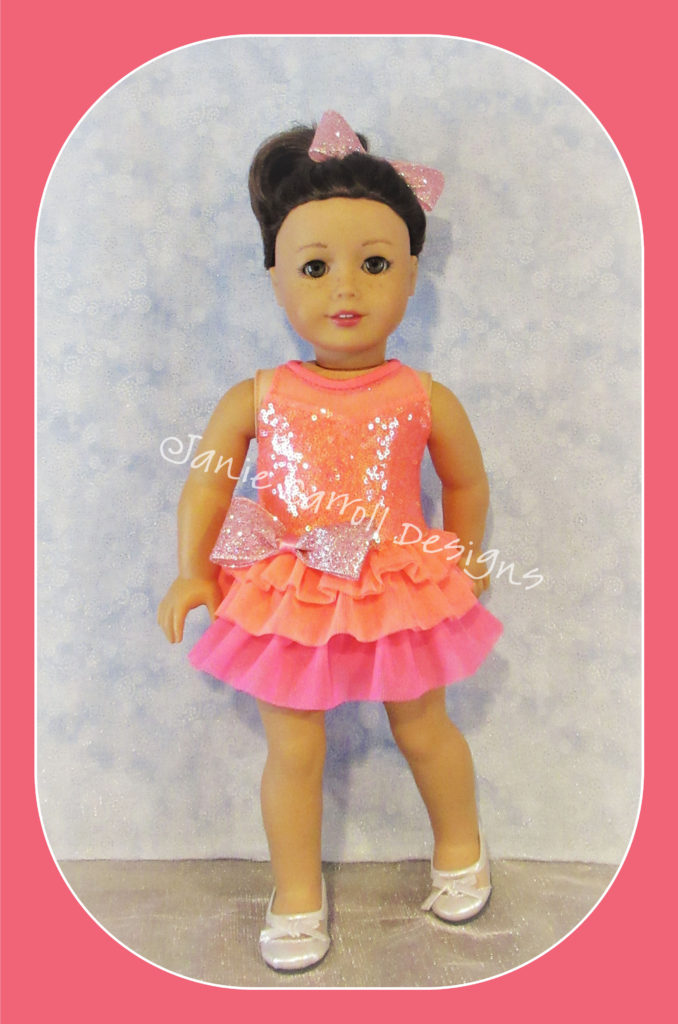
All through the year, I was also busy stitching up custom orders.
Here are a few favorites…
All these custom orders come with their own challenges. Often these circle around the same basic idea. How does one take available materials and mimic a look that may be quite unique?
Manufacturing companies may have fabrics that are simply not available for any retail purchase. The same goes for trims, which they may have dyed to match just for their use!
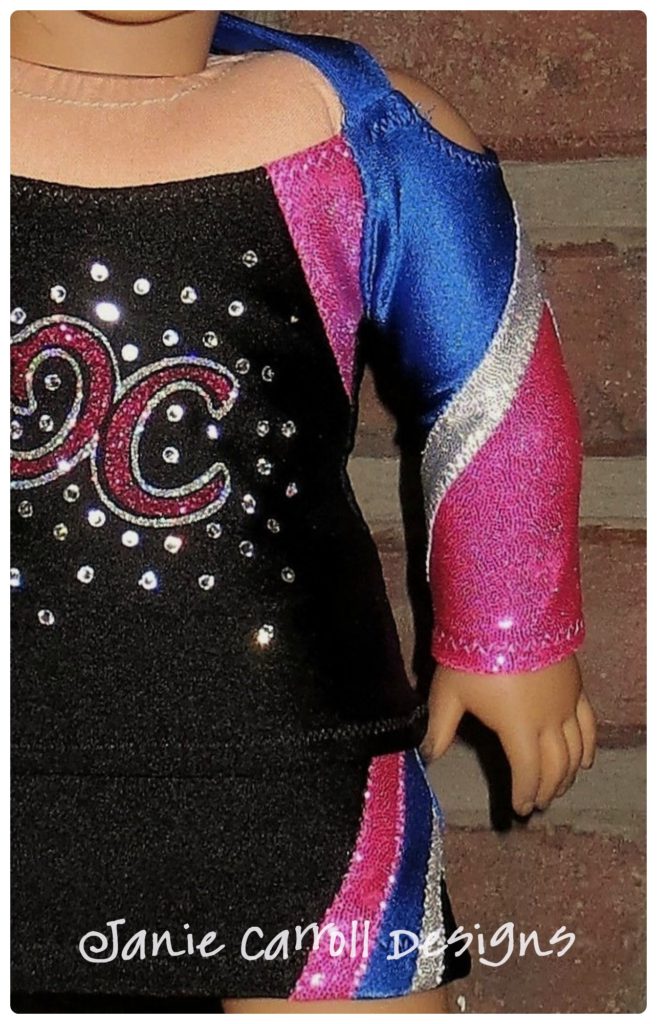
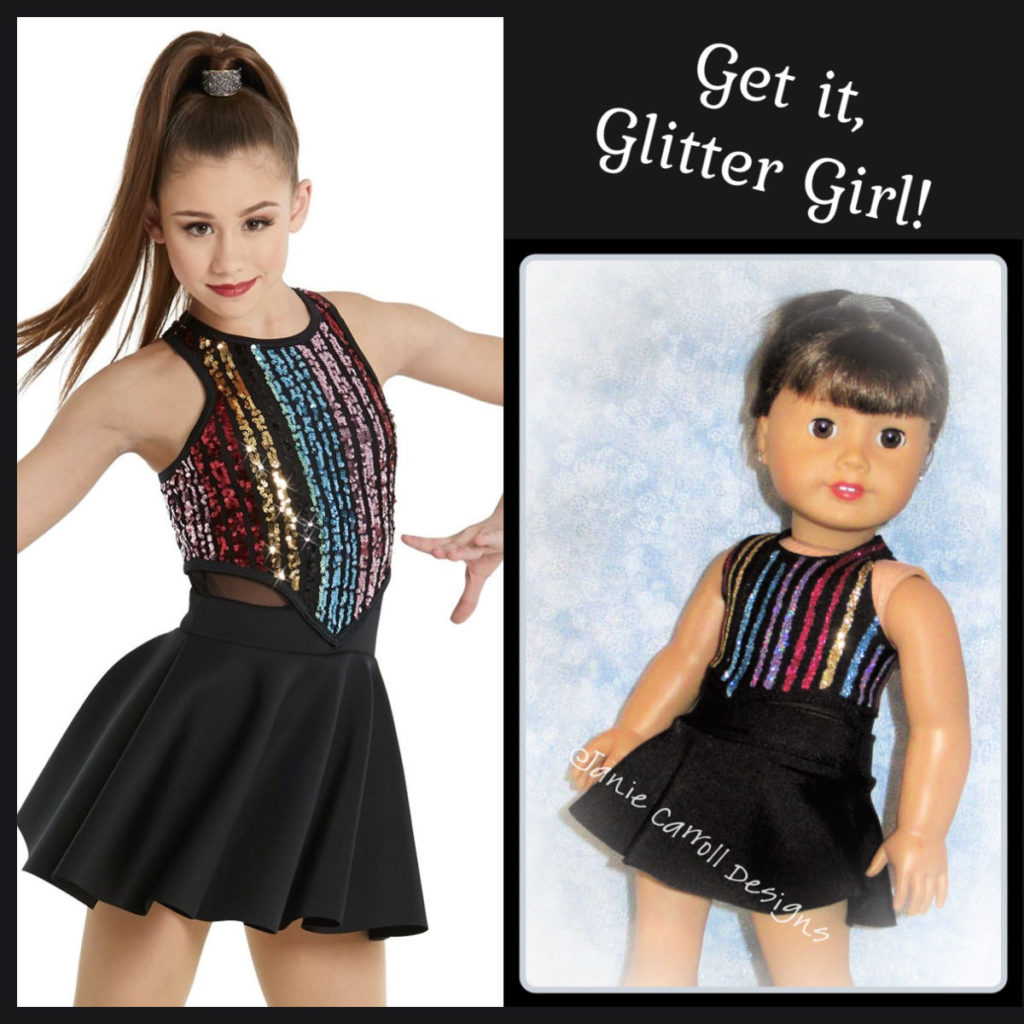
All of that brings me to our subject today. I received a request from a repeat customer, to copy this outfit, from the Weissman’s Costume company.
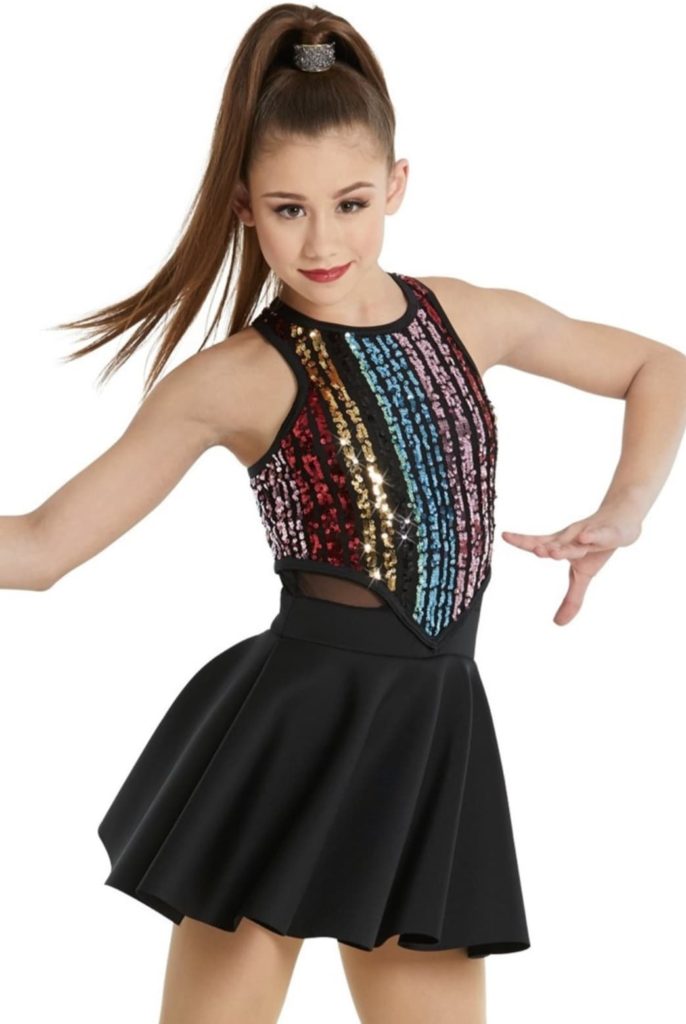
First off, it’s difficult to find a source for strings of sequins at all. If I did, would the needed colors be available? If they were, wouldn’t attaching these be incredibly time-consuming? how durable would the finished product be, since this order was for a child to play with. Hmmm…
What if I could cut strips of glittered heat transfer vinyl to mimic this look?
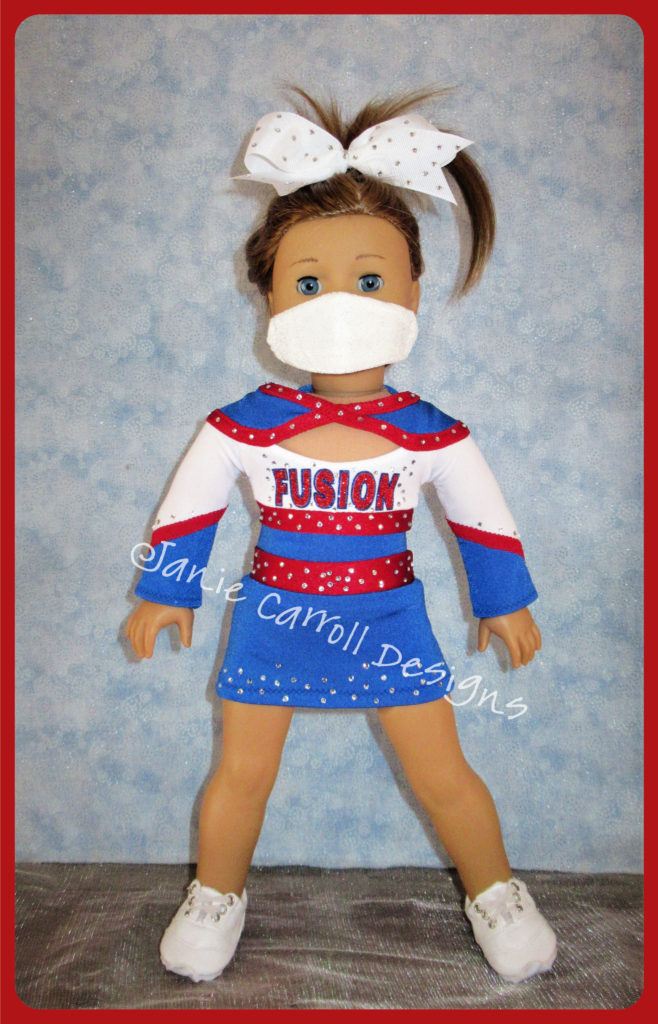
Y’all know that I use a LOT of glitter HTV, mainly for cheer uniform logos like this one…
With this idea in mind, I accepted the order. Here’s a free tip for those of you that sell your doll clothing. Always spell out what will be included in an order, and leave yourself room for changes. My listings always advise that while the finished product will ‘read as a match’, some details will NOT be identical. In this case, the customer was told that I would NOT be using sequins.
Yesterday it was time to begin. Pattern work must be done before we can get to the fun of vinyl application.
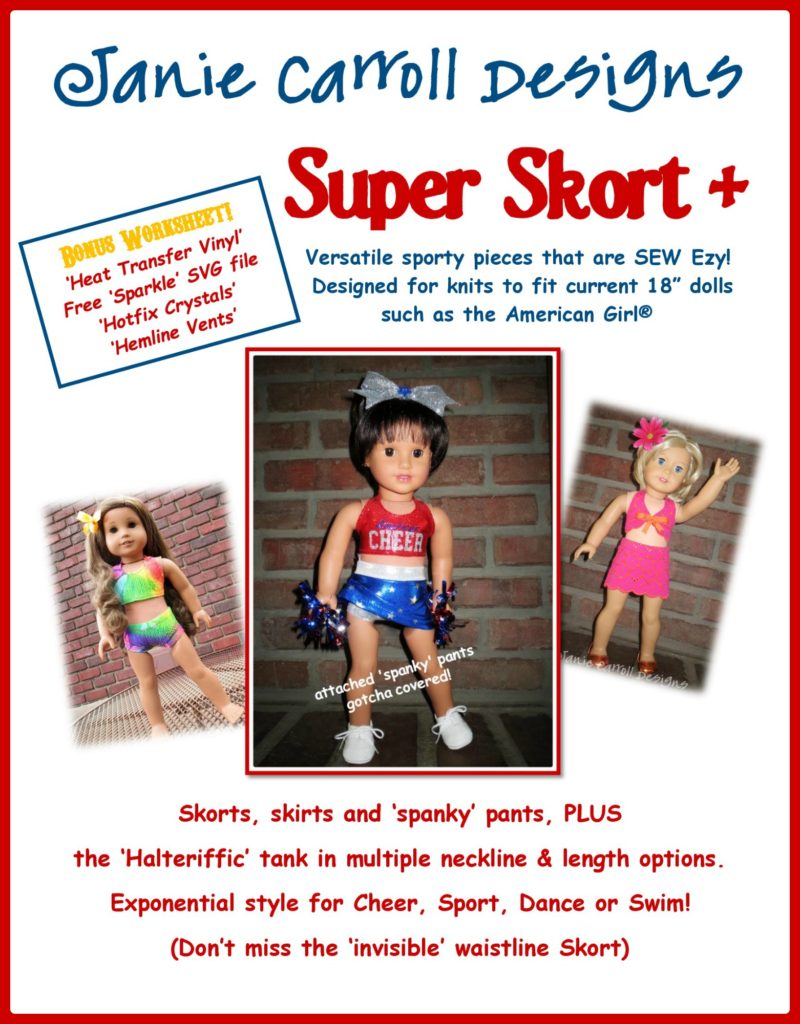
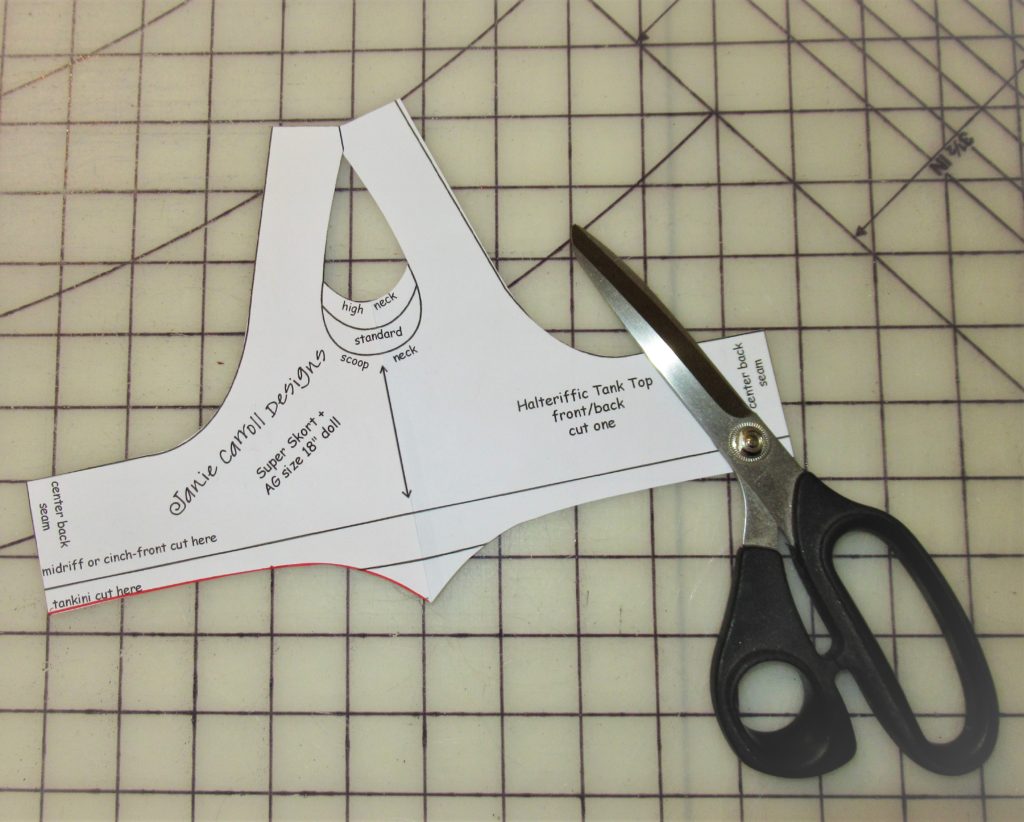
I pulled out a favorite pattern to use for the bodice of this costume, knowing that the halteriffic tank could be easily adapted for this purpose. Here’s a link to that pattern, which has so many excellent uses! https://www.etsy.com/listing/522867904/super-skort-plus-pattern-for-18-doll?ref=shop_home_active_40
The cover of that pattern looks like this…
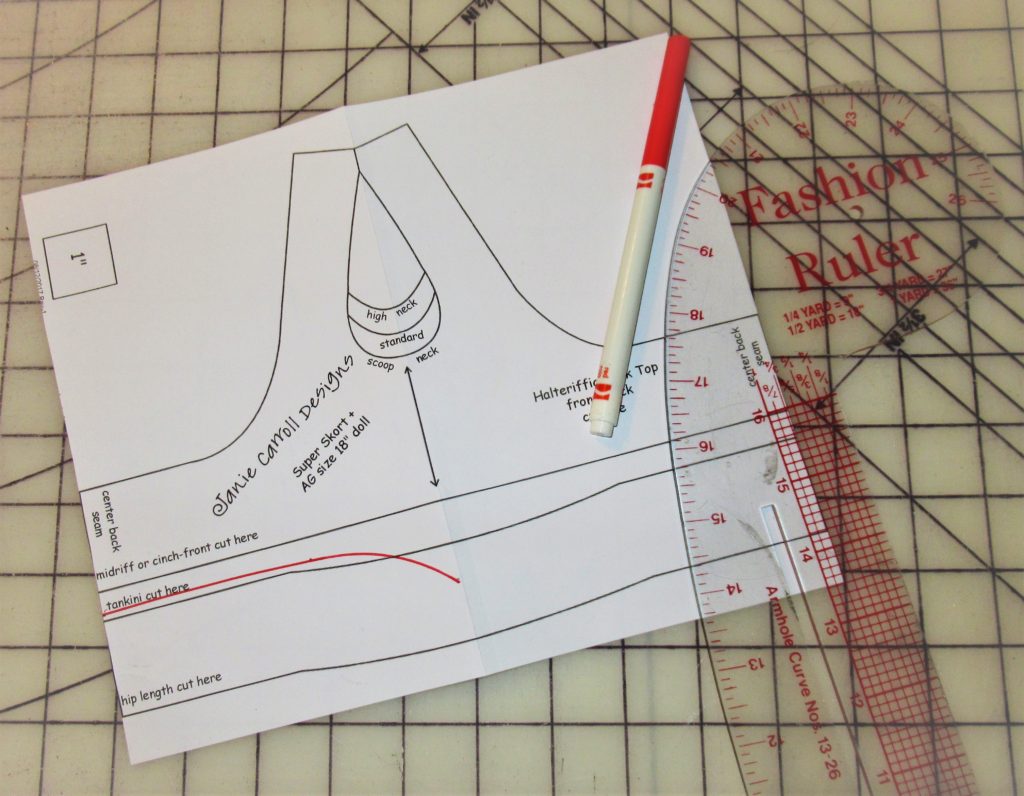
I printed out the pattern page for the halteriffic tank top pattern, as it is always best to have a clean slate to work from. There is no ‘magic formula’ for deciding on the exact length, or curve of the ‘V’ waistline. I knew the ‘point’ needed to overlap the waistband of the skirt by a small amount, and I simply used the lengths on the pattern to help me decide. Using a curved dressmakers ruler, and a red felt-tip pen, I drew in the curved line I wanted. Notice that I drew in only half of the line. Here’s a photo of what that looks like…
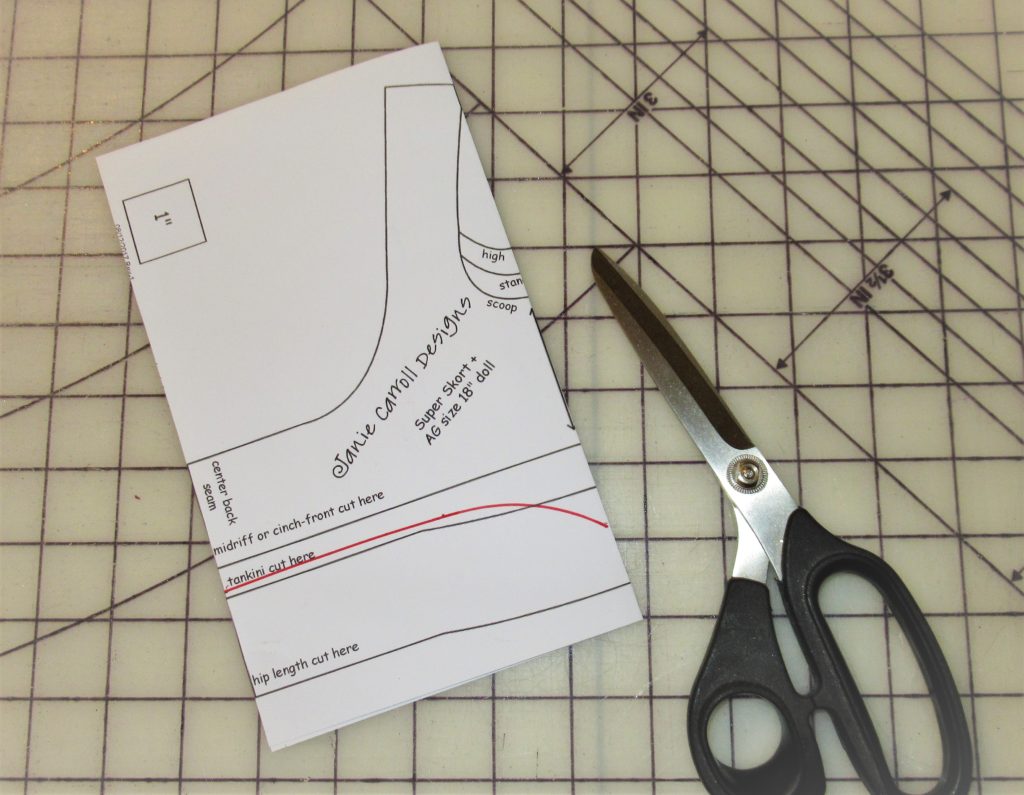
We want both halves of the pattern curve to be exactly identical. Fold the paper in half and trim it out. For my purposes, I used the highest neckline, but you could certainly choose whichever neckline you prefer.
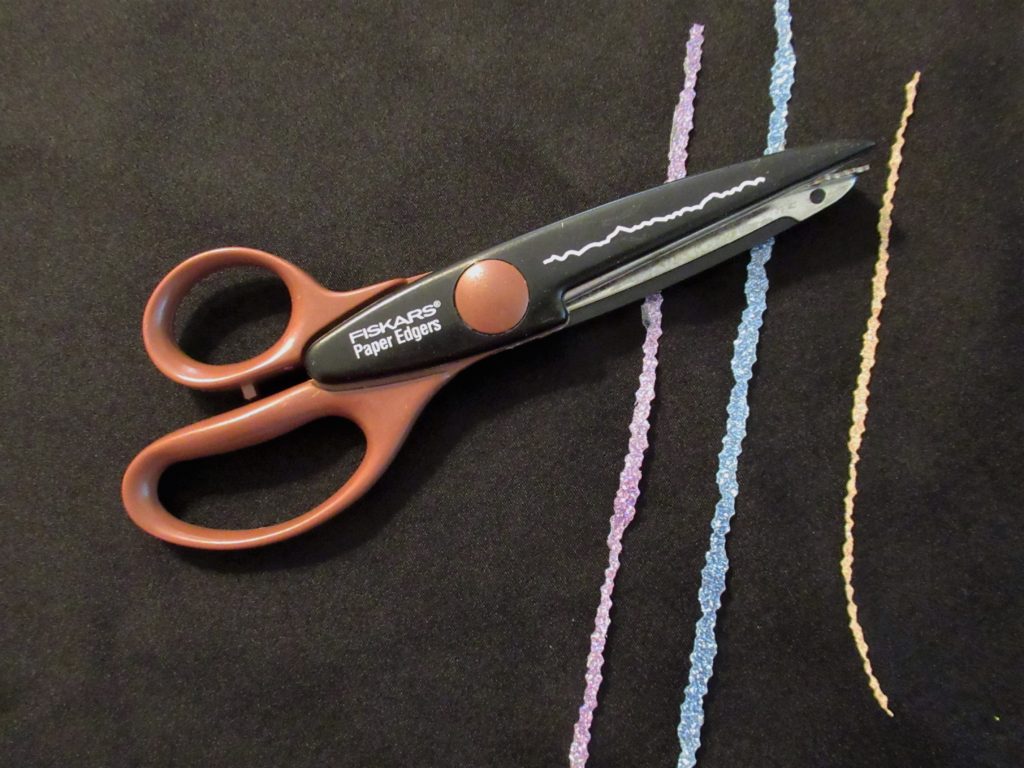
Time to prepare my vinyl. I used Siser brand glittered heat transfer vinyl. Since this is not a ‘how to’ for vinyl, we will assume that you know your way around heat transfer vinyl, electronic cutting machines and heat presses. Because the original design on this included irregularly shaped sequins, straight cuts of the vinyl would not give the same ‘look’. Digging around in my greeting card supplies I pulled out this pair of Fiskars brand ‘paper edgers’. This blade is known as a deckle edge; basically it’s just an irregular jagged edge. Since these scissors are made for paper, trimming was a bit slow on vinyl but I managed it, cutting narrow strips between 1/8″ and 1/4″ wide. Back to the pattern to plan my placement…
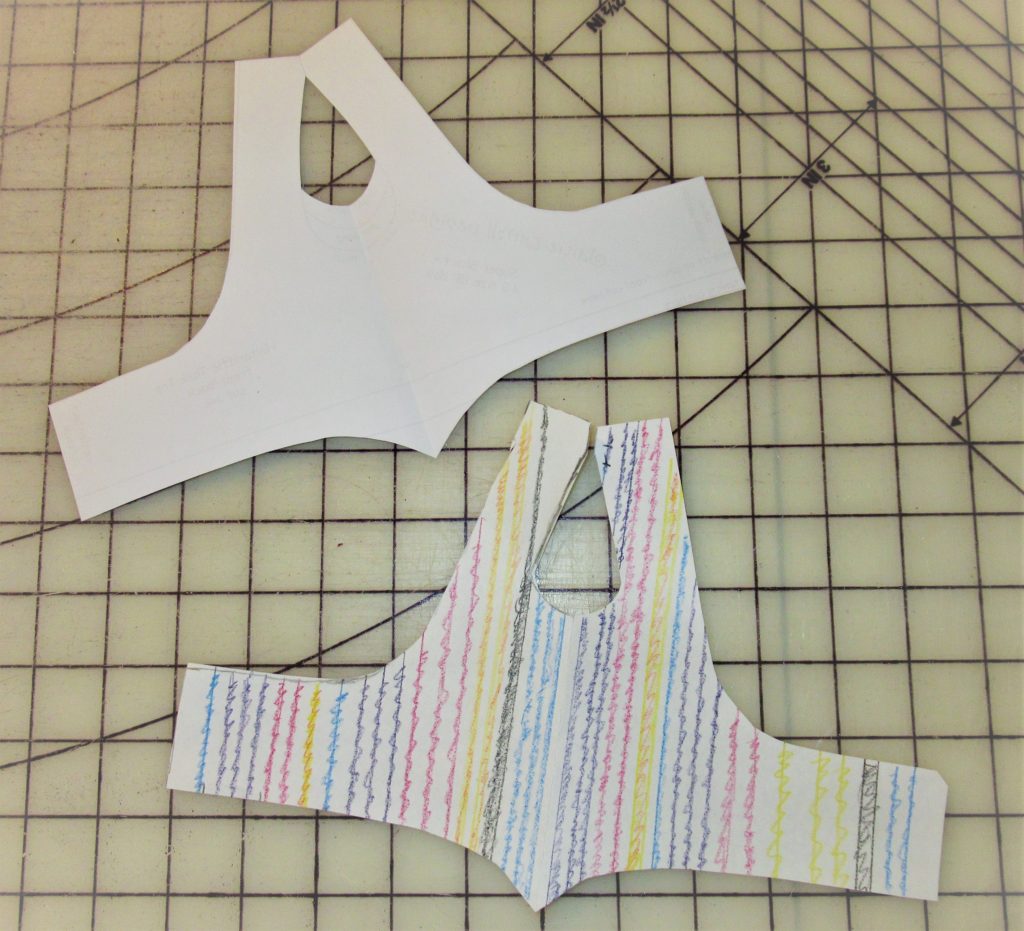

I opted to leave a border around the vinyl strips. Why? The original costume appears to have the edges bound. Wanting to eliminate this in my costume, leaving a border will give the same ‘black outline’ effect and all I have to do is hem the edges, as the pattern normally requires. Time to construct the top. Following pattern instructions, stitch up the center back seam and stitch 1/4″ hems on all exposed edges.
Alternate uses for trims are often possible, this one turned out exceptionally well, if I do say so myself.
What about the skirt? I used the Janie Carroll Designs ‘Candy Shoppe’ pattern for that. I chose the shortest ‘microskirt’ length, with standard waistband and attached panty to keep things neat. Follow the pattern instructions and construct as usual. Here’s a photo of what that pattern cover looks like, and a link to help you find it in my Etsy shop: https://www.etsy.com/listing/557333256/candy-shoppe-ezy-circle-n-crop-pattern?ref=shop_home_active_32
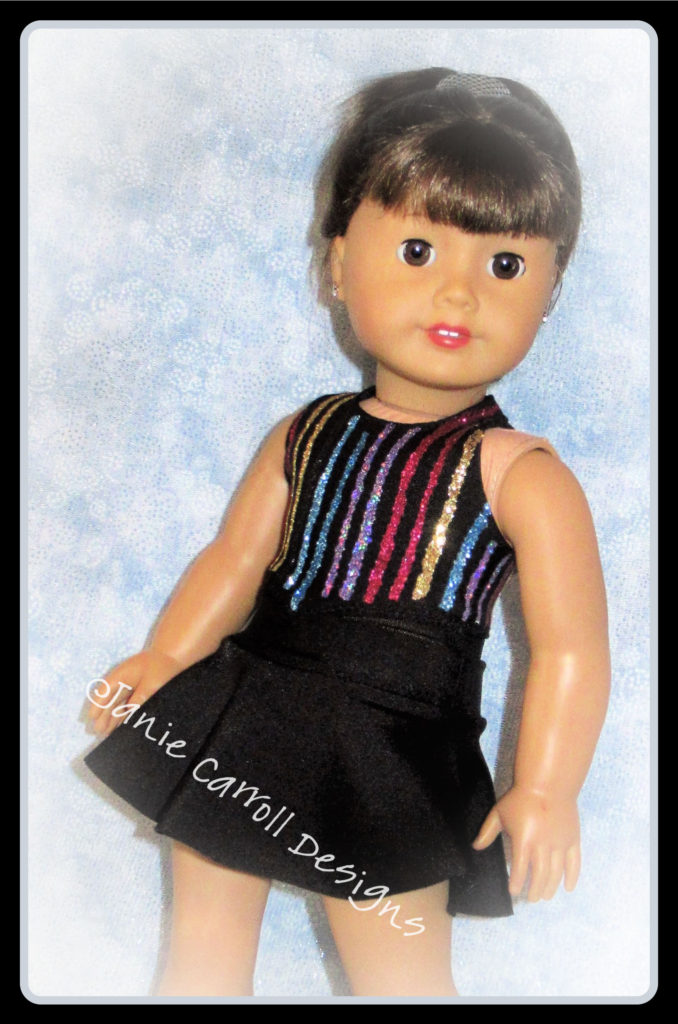
The Candy Shoppe is truly one of my favorite patterns. It’s hard to beat the fun of a flippy little circle skirt! Attached panties, hankie hem options and fun crop tops give you so many possibilities. This skort, together with the modified and embellished halteriffic tank, makes a great little dance outfit.
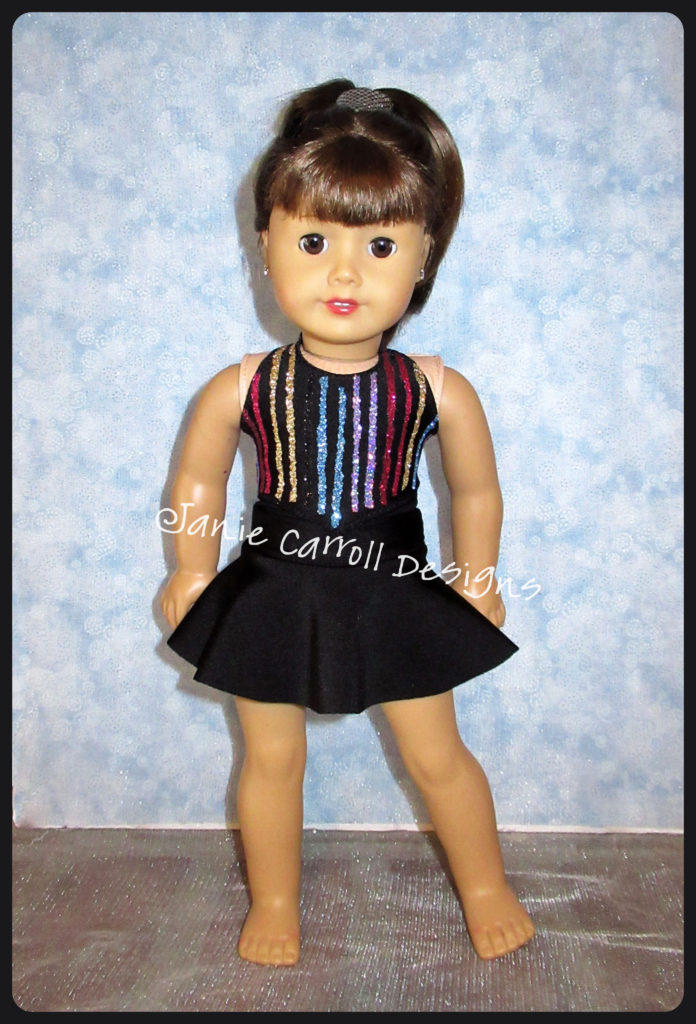
Don’t need to copy this look? No problem! How about using this shape idea for another cute cropped halteriffic tank? I’m already planning more outfits! As for this one, back details are also a ‘good thing’.
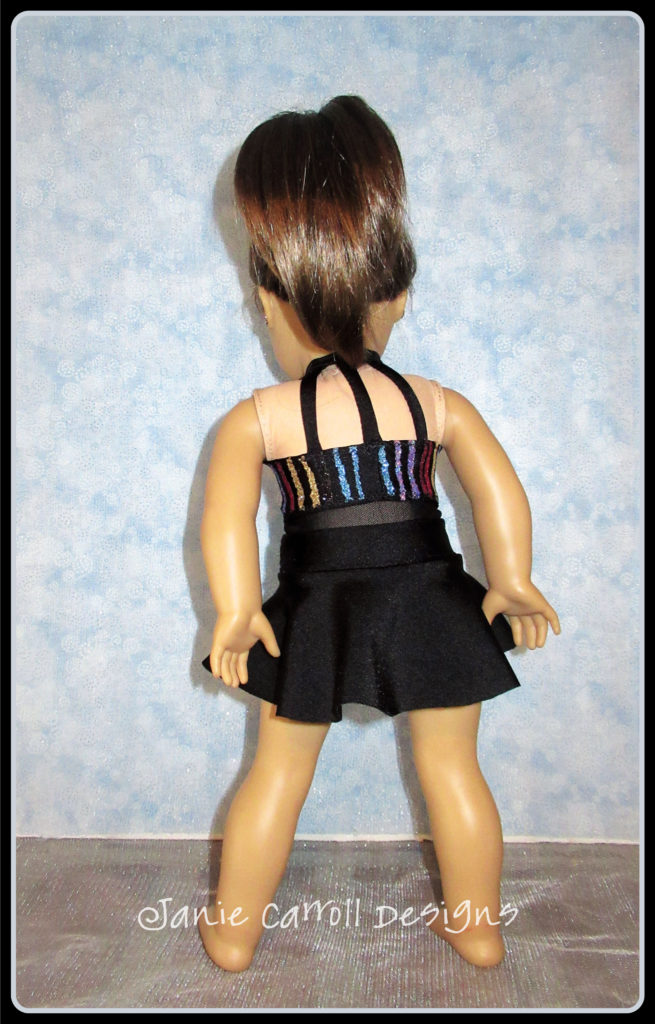
Three ‘spaghetti tubes’ were added to the finished back of the top, again to mimic the original. The midriff has a an insert of black power mesh, simple enough, and also added after both the top and skort were completed.
All in all, it’s a nice comparison! The faux sequined appearance was quick, accessible (to me!), and the finished garment is far more durable than ‘real’ sequins would have been.
So, before you say it can’t be done? Take a few minutes to ask yourself how else a look might be accomplished!
Janie- Your cheer outfits are fantastic and this one is no exception! you really thought outside the box with the trim. I applaud you.
Thank you SEW much, Susan! I always hope the things I share will help others feel brave about trying new things!
You’re a genius!!!
Great article …and so pretty……………Thank you!