
We all love the Ezy T pattern for its versatility.
Whether you’re still using an earlier copy of the pattern, or the latest update, the Ezy T Reload, it’s hard to beat the options available.
Every now and again, I get yet another idea for a fun new twist for our old fave.
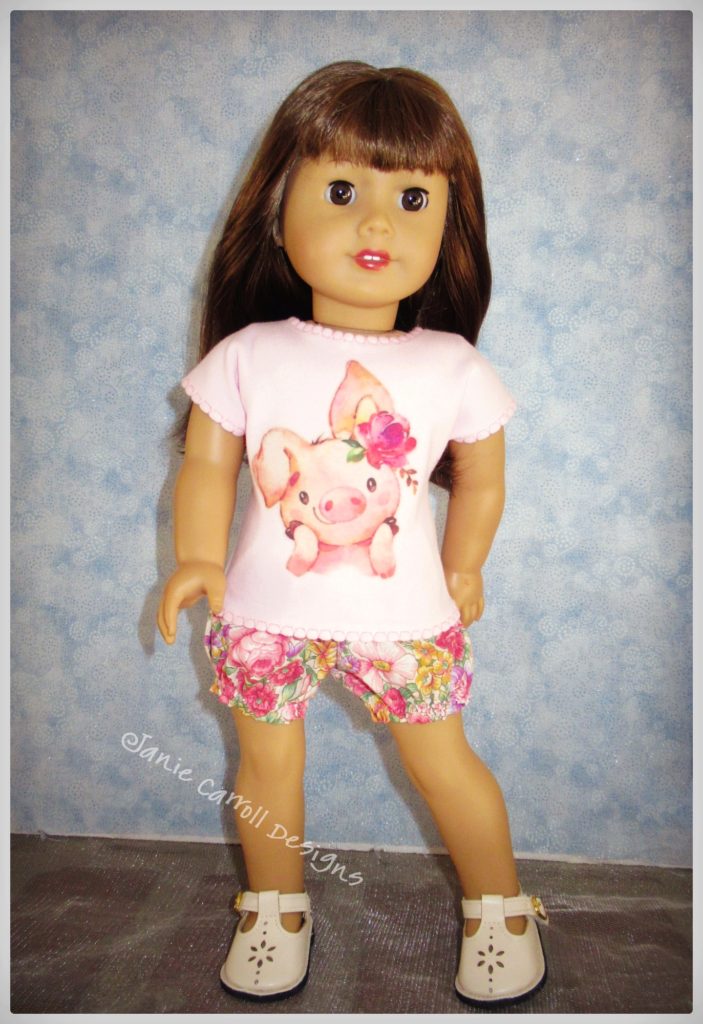
Lately, I’ve been selling quite a few bloomer and paper-bag shorts sets. This sweet lil piggy set has been very popular, with its printed transfer and floral bloomers.
I had made a pair of cute striped shorts but had never been happy with any of the tops I planned to ‘go with’. I decided to see if I couldn’t figure out a cute outfit featuring the shorts.
I think it turned out really well! How about some details?
I wanted a really casual look for the top for this set. A few changes seemed necessary.
First, I cut a standard waist Ezy T, using cotton/Lycra jersey knit. I selected the short sleeve cutting line, and I trimmed out the ‘B’ (jewel) neckline.
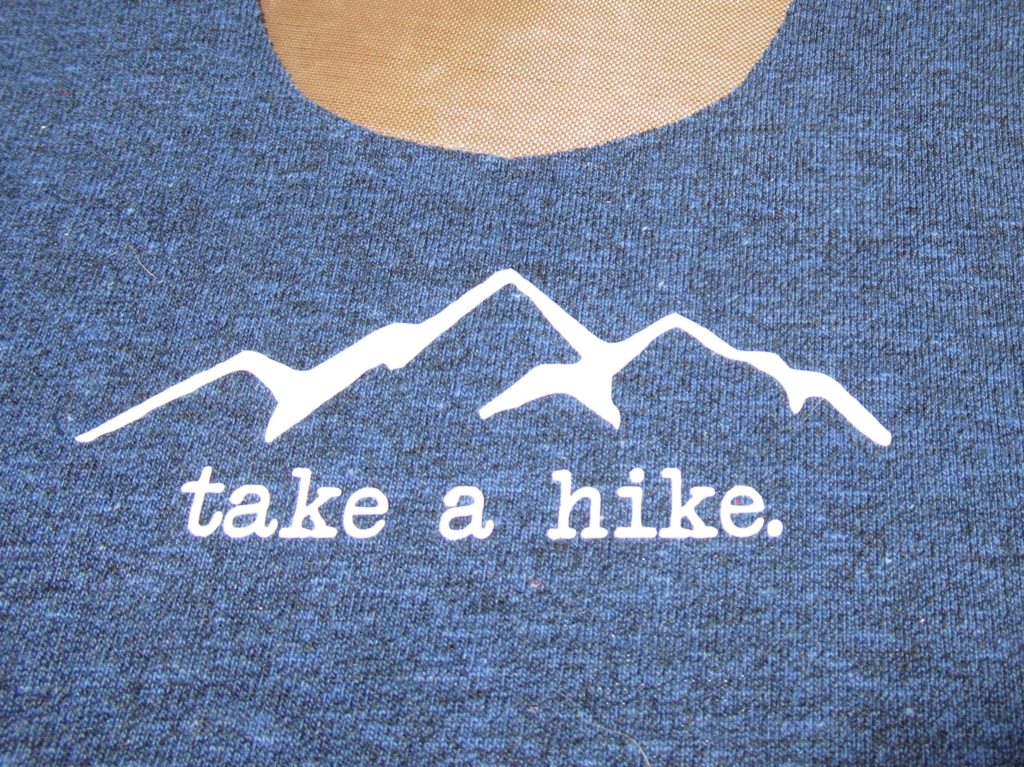
Next I set up my heat vinyl design. I sometimes purchase a pre-designed SVG file, but this time I thought it was simple enough to choose a font for my letters and sketch a quick mountain range outline, using designs I found online as inspiration. *Remember, if you’re selling your project, you’ll need to choose fonts/designs that are free for commercial use, or pay a licensing fee for the font or design you wish to use.
I cut my design and lettering from pearly soft-white smooth heat transfer vinyl and applied this with my heat press.
Next, I stitched the shoulder seams, as usual and then stopped to think about the sleeves. I envisioned a hot day, and t-shirt sleeves that would be rolled up. With this in mind, I pressed the 1/4″ hem allowance to the RIGHT side, to start.
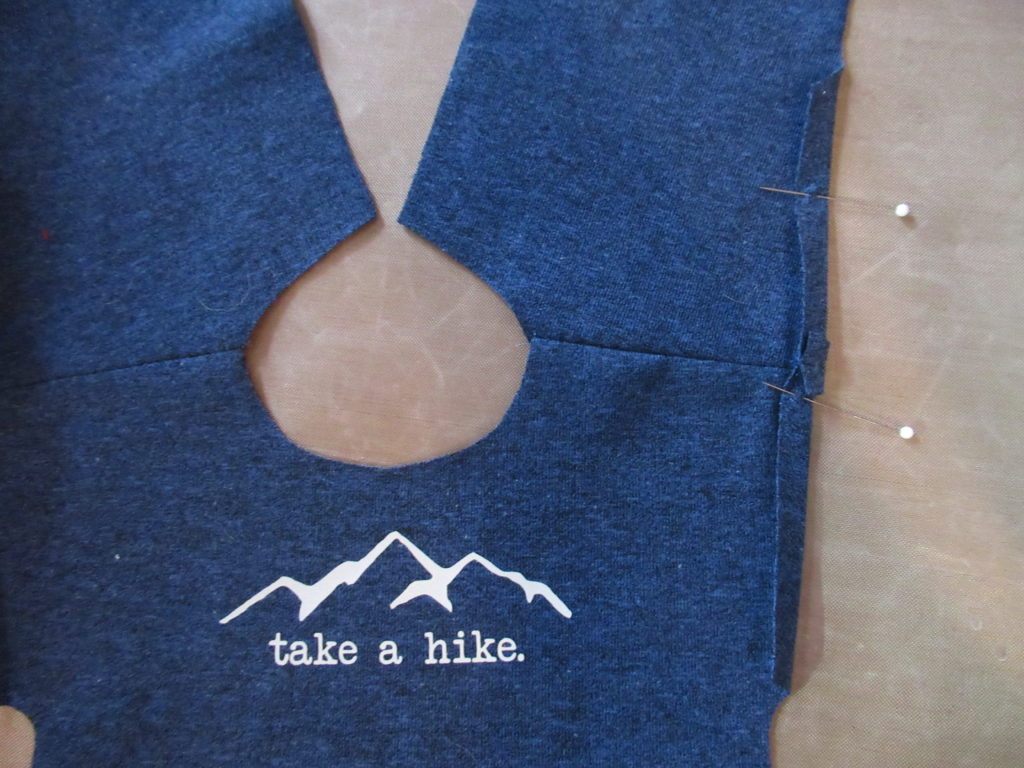
I turned this fold towards the right side again, this time 1/2″ at the shoulder seam, tapering to 1/4″ at the end of each sleeve. Press this fold, and place a pin at the shoulder seam. Stitch in the ditch of the shoulder seam, from the right side, as shown. This nearly invisible stitching (denoted by the gold marks on the photo below) will keep our simple cuff from unrolling as the doll hikes along.
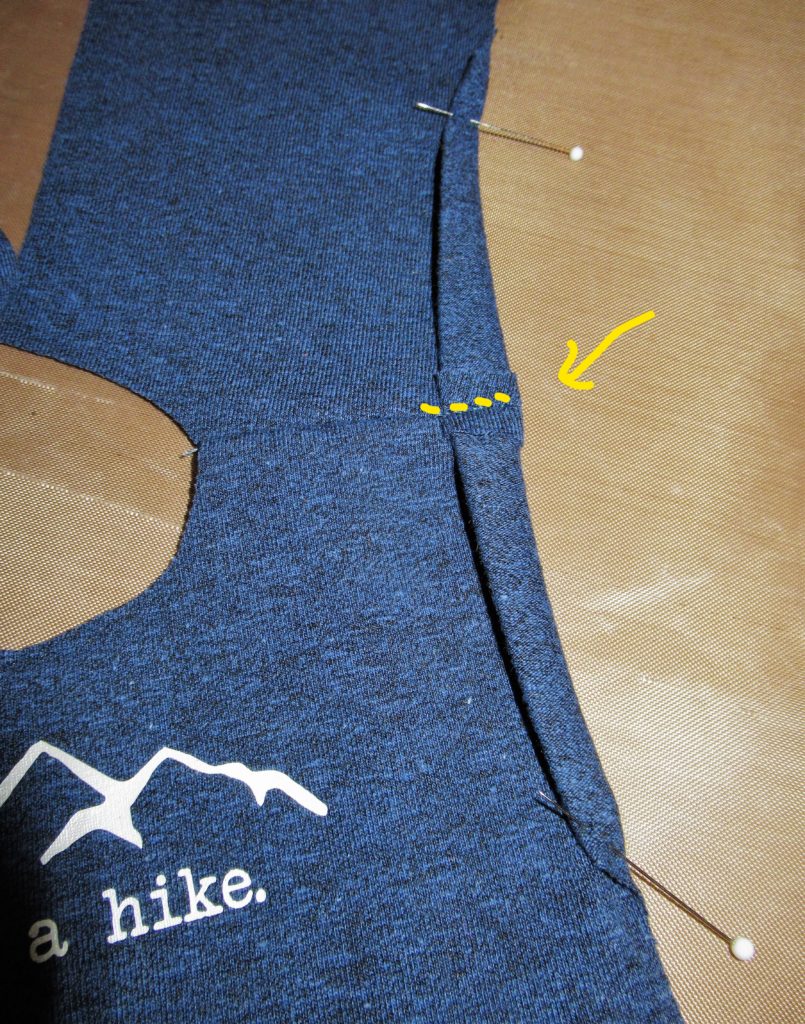
At this point, you’ll pin the front and back, right sides together and stitch the side seams. Place a pin carefully in the underarm area, as this was truly the only ‘tricky bit’ I encountered. It’s a little difficult to determine exactly where your stitching should end. The goal is to catch the cuff fold in underam side seam. (oops – I missed one fold slightly and had to take a few hand stitches to secure!)
With the side seams finished, it was time to make a couple more choices. Imagining a hot day again, I thought of the habit my kids have had in the past, of removing the neckbands from some of their slouchy t-shirts.
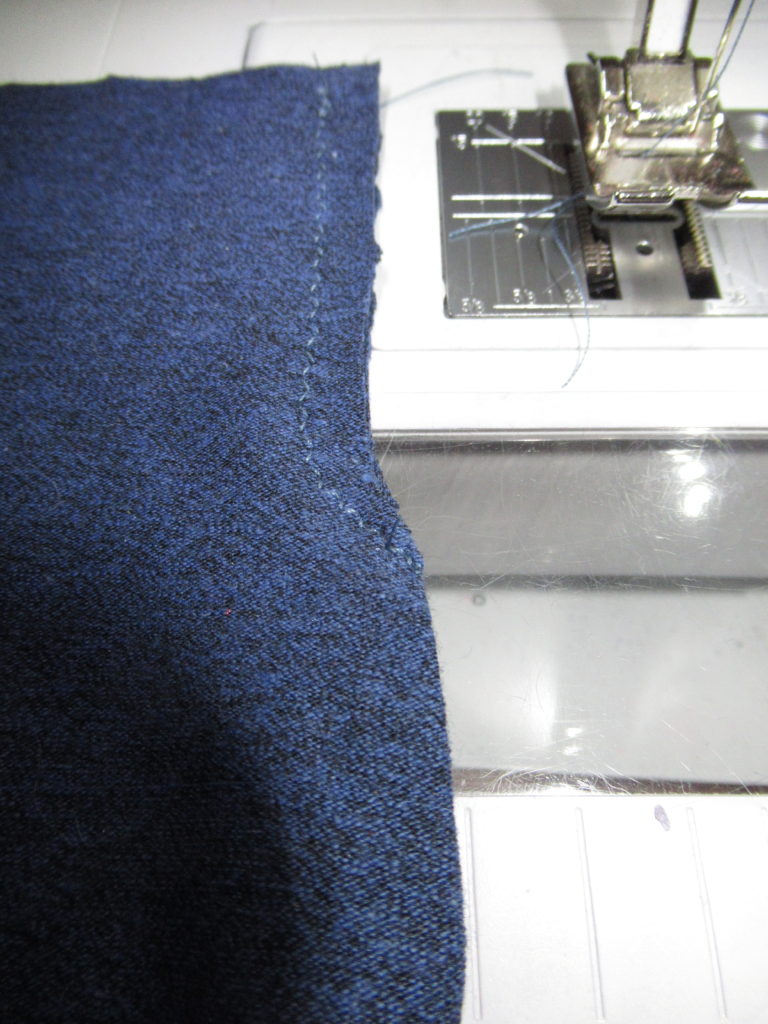
Rather than turned a standard allowance around the neckline and hem, I simply stitched 3/8″ from the raw edge with a narrow zigzag stitch. This line of stitching should help prevent excessive stretching, while still maintaining that super casual ‘don’t care’ style.
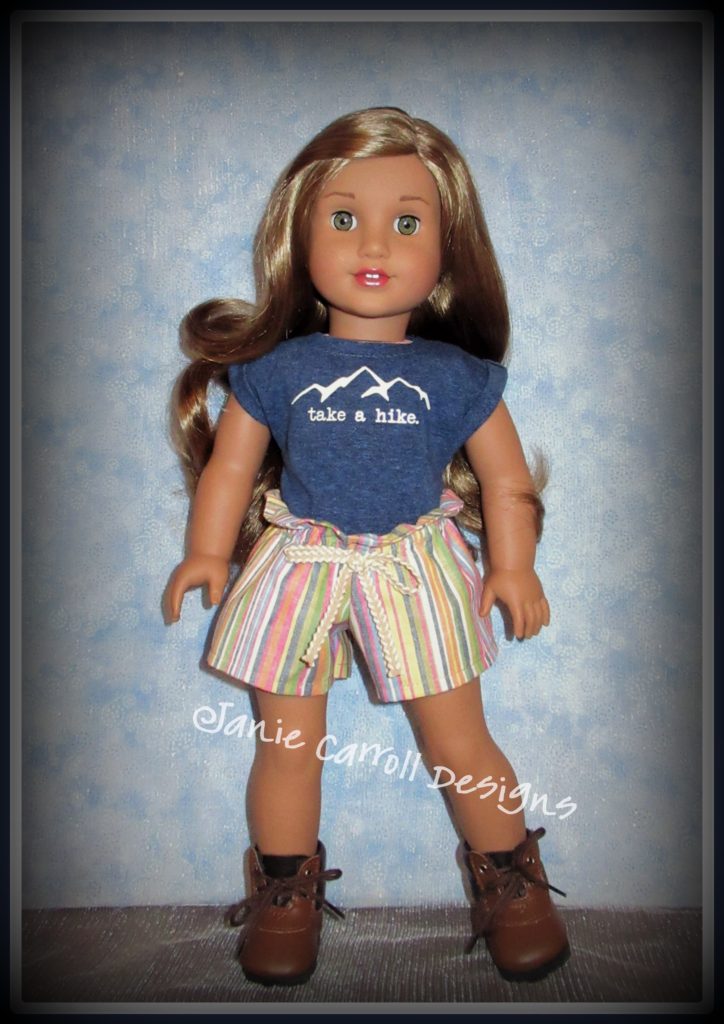
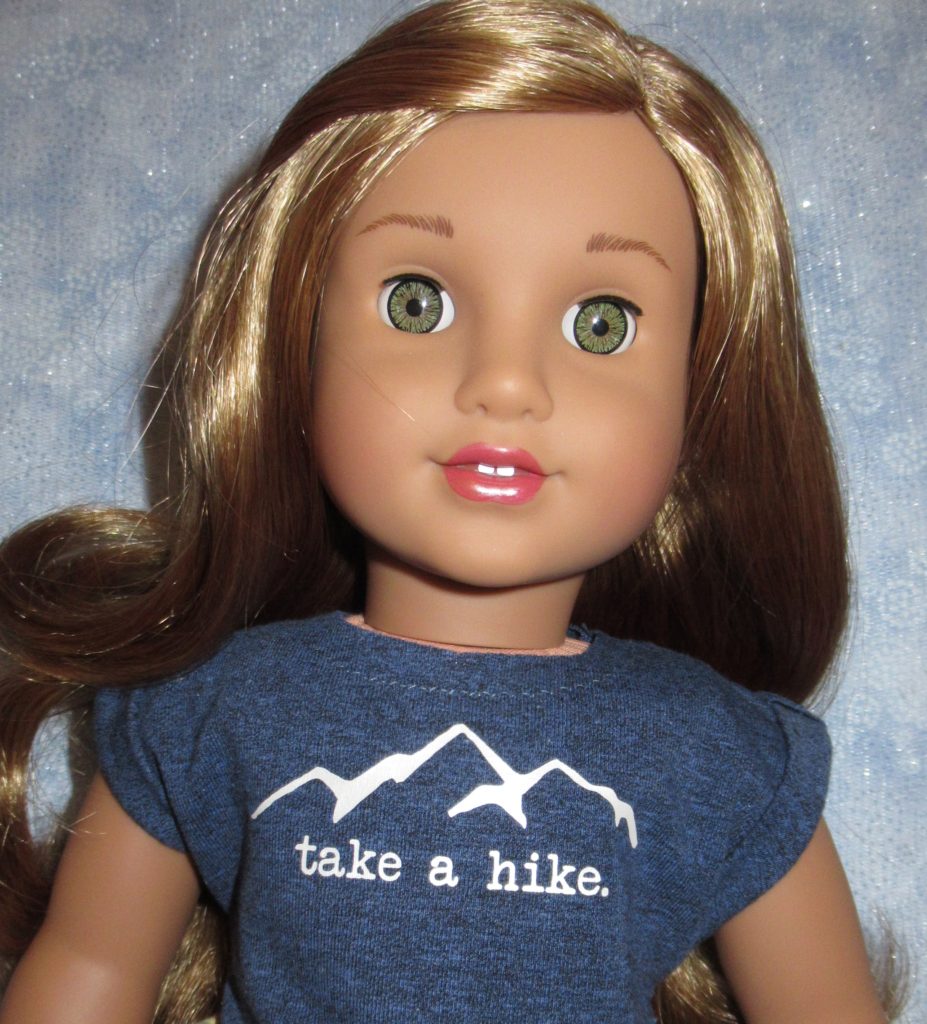
I dressed the doll and took a few photos. Hopefully, you can see that neckline stitching.
…and here’s a full view of the entire outfit. Just a tip on the paper-bag waist shorts – avoid stiff fabrics. The full legs of this style look best with a very short and fluid fabric. This is a cotton blend, and it has been pre-washed.

The hiking boots here are a purchased item. If you’d like to make similar shorts, you’ll need the JCD ‘Breezy Bloomers and Paper-bag Bottoms’ pattern. For the T, it’s our favorite JCD Ezy T Reload.
With the Covid19 scare, we’re all keeping our distance, for safety. I hope you’re keeping your spirits up. My temporary ‘tax season’ job was cut short by the closures in my state. I know many of you are on ‘house arrest’, etc. If weather permits, consider walking – or even hiking! Both are great exercise. The fresh air and sunshine won’t hurt us either!
Stay safe, Friends, and keep sewing!