
I’ve said it before
but it bears repeating –
Custom Orders help us learn new things!
It’s so easy to settle into a
comfortable little rut.
Stitching the same, favorite patterns
over and over again.
There’s nothing really wrong with that,
at least occasionally.
If, however, you’d like to be learning something new?
It’s important to break away from that habit.
I have long had the practice of trying something new
at least once in every project.
A new technique, a new notion, an unfamiliar stitch, etc.
Still, nothing gives me the extra ‘push’
to really stretch my abilities
like a custom order.
There’s the pressure of needing to get it done in a timely manner.
The need to keep things cost effective.
The extra desire to get it right, so the buyer is happy!
I had one of those moments recently.
A potential customer sent me this photo,
which is a dance costume made by Weissmans.
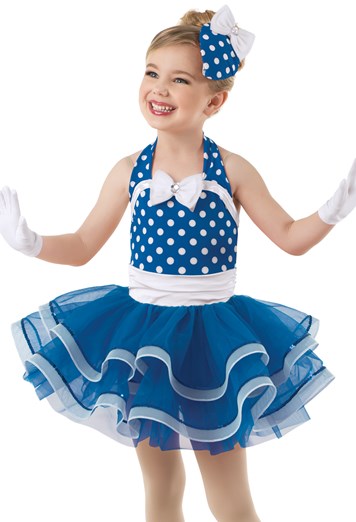
She wanted a reasonable ‘match’ made for her daughter’s doll.
Most of you know I do a lot of that sort of thing.
After overcoming various difficulties –
Thanks to Lori, for sending fabric all the way from Canada
I decided on an edge trim to approximate the horsehair braid
used on the original tutu.
We were off to the races.
I modified a previous pattern of mine,
which (sadly) is not available for sale at this time,
to come up with the leotard.
The tutu was fairly simple, though I found it necessary to layer
two shades of blue to get the perfect color!
Now for that hem edging…
Considering that heavy trim at the hem edge can make
the garment will stand out like a bell!
I found a 5/16″ wide sheer ribbon with narrow white satin edges.
This seemed like a good combination that would add just a bit
of edge stability without overpowering
the lightweight of the tulle.
here’s a close up of the ribbon I used.
Sheer organza with satin edges.
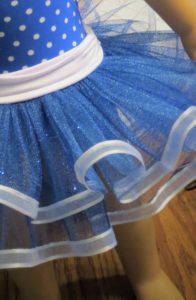 I felt it was perfect! The hemline swoops and falls in
delightful curves!
Now for the tiny hat –
a Fascinator!
(she gets to the point, at last!)
Is this a good time to say I really haven’t made many hats?
A quick search online
found many adult size teardrop fascinator ‘bases’
available for purchase.
These were either buckram with bendable wire edges
or pre-molded…something not available to me!
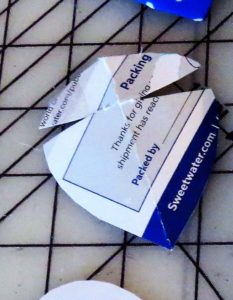
I cut a quick cardboard pattern out of a piece of junk mail.
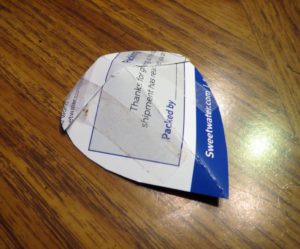 To get a curved, lifted shape, I cut narrow slits in each side and
overlapped these slightly, to approximate darts.
it looked about right and the scale was good!
Somehow, cardboard did not seem quite desirable.
It might bend and become permanently creased.
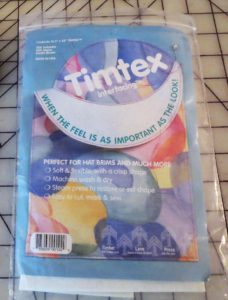
I went hunting through my stash
of supplies and found a package of Timtex.
Heavy interfacing meant to be used as stabilizer,
for things like hat brims.
It sounded perfect!
This product can be purchased
by the yard, by the bolt or in smaller packages.
It appears there are similar products made by a variety of brands, too.
In any case, this is what I used – albeit from a very old package!
how about a link so you can read up on this yourself?
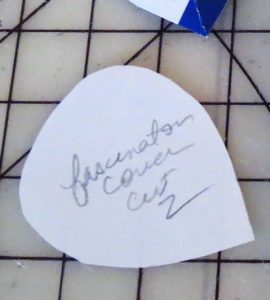
Using my cardboard pattern, I removed the tape
and traced the shape directly onto the Timtex.
Here’s a photo that shows the pattern ready to trace.
Rather than cut out the slits,
I fold along them and stitched small darts on each side.
With darts sewn I traced this finished shape onto my fabric
and cut two covers, allowing a 1/4″ seam allowance.
I stitched the covers right sides together.
Rather than stitch the 1/4″ seam I had planned I decided to take a
full 3/8″ seam so that the cover would fit snugly and smoothly.
I let an opening on the large end to insert the Timtex liner.
Be sure and trim the seam allowances and the point before
turning the cover right side out.
Insert the Timtex.
Now for the slightly tricky part!
Fiddle around with it a little,
working the liner into the correct position and rolling the
seam allowances to the back side so they won’t show.
More good news – the Timtex bends easily but returns to original shape!
Hand-stitching the opening closed, I placed it against the doll’s head
to get a visual of how everything was going.
Mostly good, but the point was not curving towards her face
as all the ‘real’ ones did in photos.
Hmmm….
Turning the whole thing over
I found that pinching out a small fold of the fabric only
on the under side added
a gentle curve to the tip!
This is thanks to the flexibility of the Timtex!
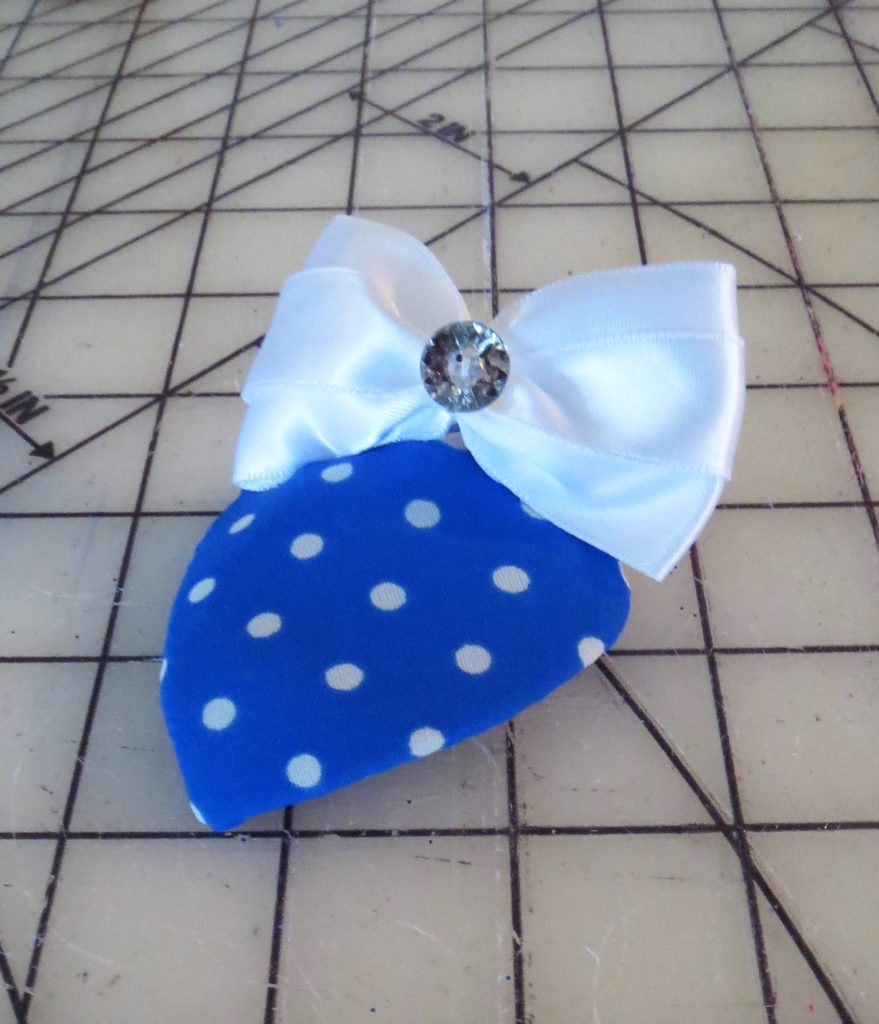
I made and attached a white satin bow with hand-stitches.
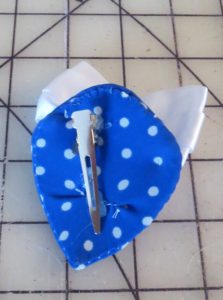
Last of all, I snipped a tiny slit in the fabric and inserted my hair clip,
securing it with a bit of hot glue.
Here’s what the underside looks like…
And here’s what the right side looks like…
and here’s my outfit, altogether!
![]()
Take advantage of all of the resources you have
before you make additional purchases.
Try things.
Particularly when working with doll clothes,
the amount of product, or even time,
you might ‘waste’ is very small.
Remember that failed attempts
may help you make the leap to
something that will work!
Happy Sewing.
Make it a fascinating day!
Awesome info!
Thanks for sharing your inspiration and for encouragement!
Is there a pattern to buy for the Super Skort?
yes, there is! I’m so sorry for the delay in my answer. The Super Skort + is available in my etsy shop. here is a direct link for the 18″ size. (it’s also available for slender 18″ dolls and smaller 14″ dolls, such as the Wellie Wisher sized dolls. JCD Super Skort Plus pattern