
I’ve had my head down
since before Thanksgiving, focused on sewing projects.
Things like this…
and this…

and a few like this…


I am finally surfacing – and just in time for Dance season to begin!
One of my more popular posts from the past is
a tutorial I did on making doll tights from adult sized socks.
Did you miss that? Find it here: https://www.janiecarrolldesigns.com/free-tutorial-making-doll-tights-from-adult-size-knee-sox/
This week I had a custom dance order
that called for fishnet tights.
These had me a little concerned. I wasn’t sure if my tutorial
could be adapted for this purpose.
For one thing, I would be working from a pair of girls size 11-14 tights
not from adult knee sox.
The tights were a lot stretchier than knee sox
and I wasn’t exactly sure what impact that would have.
Finally, what about all those holes!
I mean – they’re full of holes!
How to navigate all of these issues?
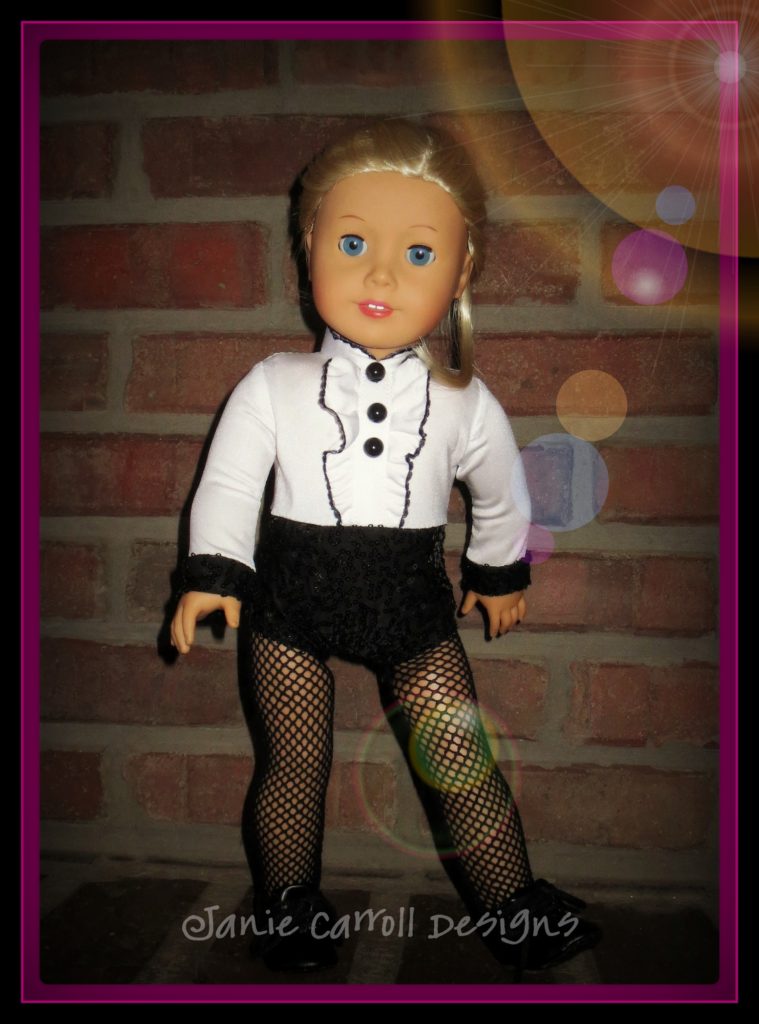
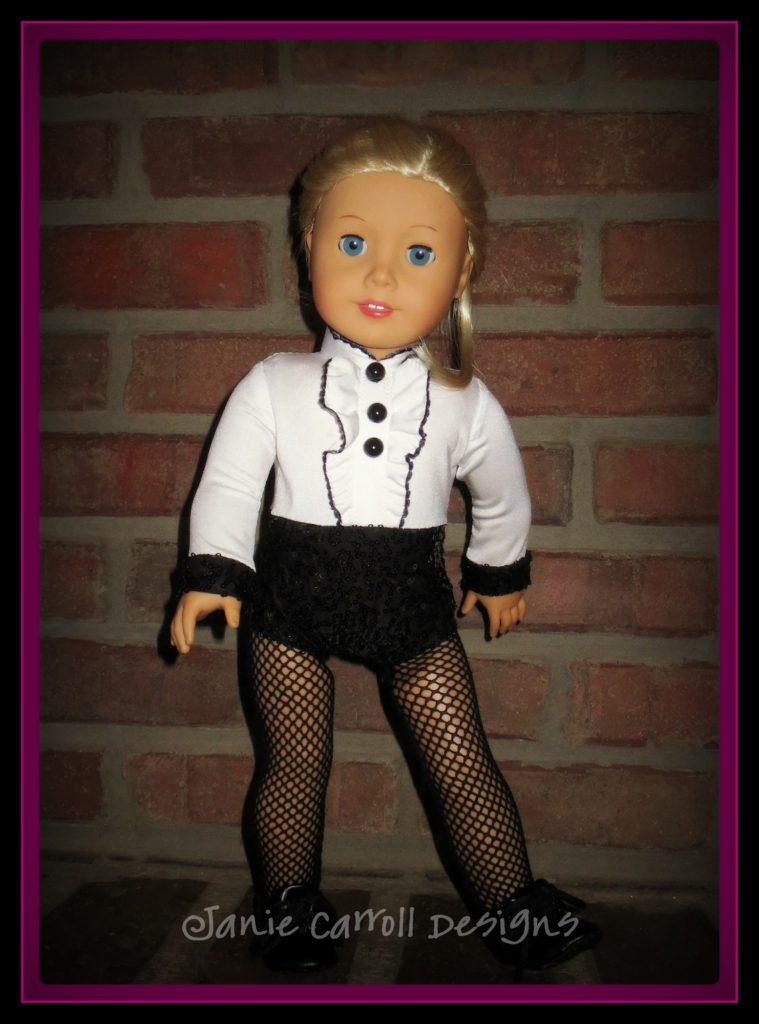
I’m happy to tell you it can be done.
Here’s the proof!
Since I could find pretty much nothing online
regarding these issues I decided that you all might like to know
how I resolved all those issues!
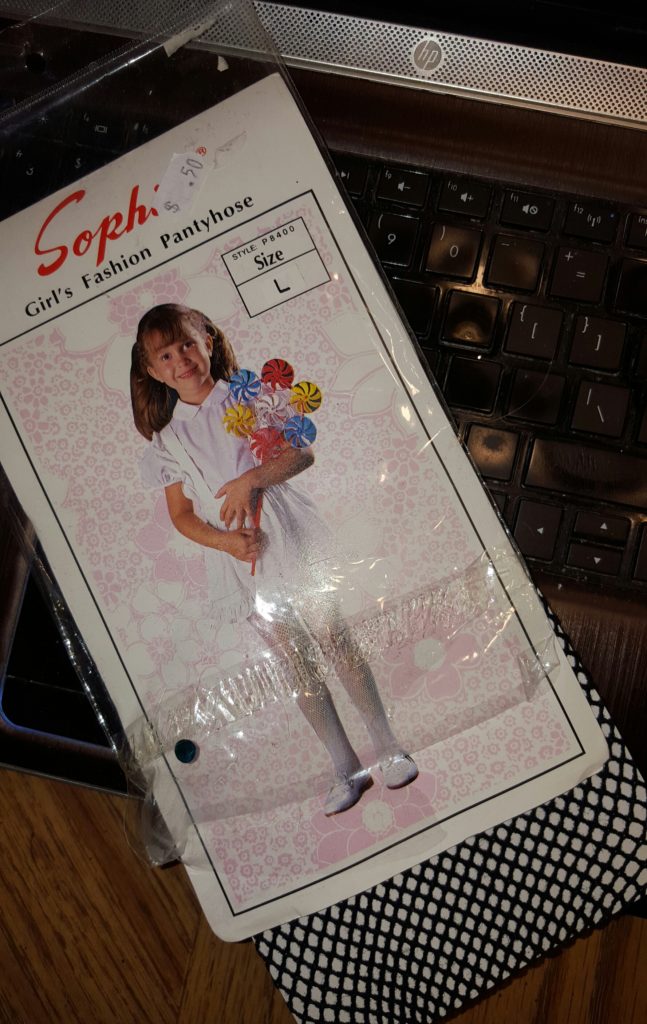
First, off, the fishnet tights I was using (package shown above)
were a girls size L (11-14)
It’s important to note that because I really don’t think a much smaller size
would have worked. For the tutorial to work, we need a ‘tube’ that is
at 11″ long. When I measured these tights in their relaxed state, they
were 12″ from the end of the toe to the crotch seam.
Just about perfect!
(Need to use adult sized hose? I’d stick with one of the smaller sizes!)
In any case, my tights certainly had plenty of stretch.
In fact, I was aware that they might actually stretch too much
and end up baggy on the doll!

They aren’t baggy, but they are a bit roomy. They definitely do not
need to be any bigger in length or width!
Next up I was a little freaked out about all those holes!
How to secure the seams to prevent unraveling?
How to even manage to stitch the seams without the fishnet being
eaten alive by the feed dogs?
This was going to need some sort of stabilizer.
I considered stitching over tissue paper but discarded that plan.
I was afraid I might be picking out teensy bits of paper for hours!
Definitely not good.
The project was already feeling a wee bit stressful!
No need to make it worse!
I decided to try stitching with a strip of Sulky water soluble stabilizer
underneath the fishnet.
Eureka! This was perfection!
Here’s the product I used

Sulky brand ‘Super Solvy’ in medium weight.
Please remember that I do not receive any endorsement fees.
You may certainly use another brand, or a similar product.
I’m sharing this only because it worked well for me!
Now that my decisions were made it was time to get started!
I followed all the usual instructions on the tutorial with only a few
very slight changes.
Since I was working with a pair of tights,
I measured from the finished toe seam up the leg until I got to 11″
This happened to be right at the crotch so I cut straight across the leg there.
(yes, this is shorter than the tights tutorial for sox. It will work!)
I stitched a 10 1/2″ length of black fold over elastic into a circle
to use as a waistband.
I pinned this in quarters and divided the open end of the fishnet tube
into quarter marks as well. I would suggest placing the raw edge of the
fishnet material nearly at the upper edge of the foldover elastic.
We want the waistband to be really secure!
I used a medium width and length for a zigzag stitch and attached
the waistband. Stretch just a wee bit as you sew, enough to
keep things smooth.
Honestly? I stitched around twice, just for extra security.
Now, here’s where you can learn from my trial.
Because the fishnet tights were very, very stretchy, I would suggest
stitching your seams 1/4″ from the center line, rather than the usual 1/8″.
(I had to stitch mine a second time!)
Trust me, even with 1/2″ between the two seams the legs are going to fit.
After your initial stitching, I would highly recommend the bit of
stabilization tape recommended in the center crotch.
Considering all the holes in the fishnet I don’t think it’s optional.
After your initial stitching, switch your machine to a wider zigzag stitch.
Re-stitch over your original seams, going over the edges in the process.
This is just added insurance that our seams will be firm.
Next, you’ll need to trim away the excess Sulky stabilizer.
Fill a bowl with hot water and soak the stabilizer out.
(This is a wonderful product. It dissolved like magic with no residue!)
Allow to dry thoroughly, turn right side out and dress your doll.
I just happened to be doing some laundry at this point
so I zipped my new tights up in a hosiery bag
and tossed them into the dryer on low.
Voila!
I apologize for the lack of photos on many steps.
I truly wasn’t sure how well it was all going to work
so I didn’t take any process photos!
I feel these tips should work well with stretch lace tights, too.
Keep warm, Friends! It’s been a chilly week here in the heart of the U.S.