There were so many great things
about the years I spent working for Chocolate Soup as an Accessory Buyer.
One of those things was a little lesson I had from our
longtime warehouse manager, Loretta.
She showed me how to tie a pretty sash bow.
Easily.
Every time.
or this one…
It’s not difficult.
You need a method to follow.
That, plus a little practice!
Let’s begin…
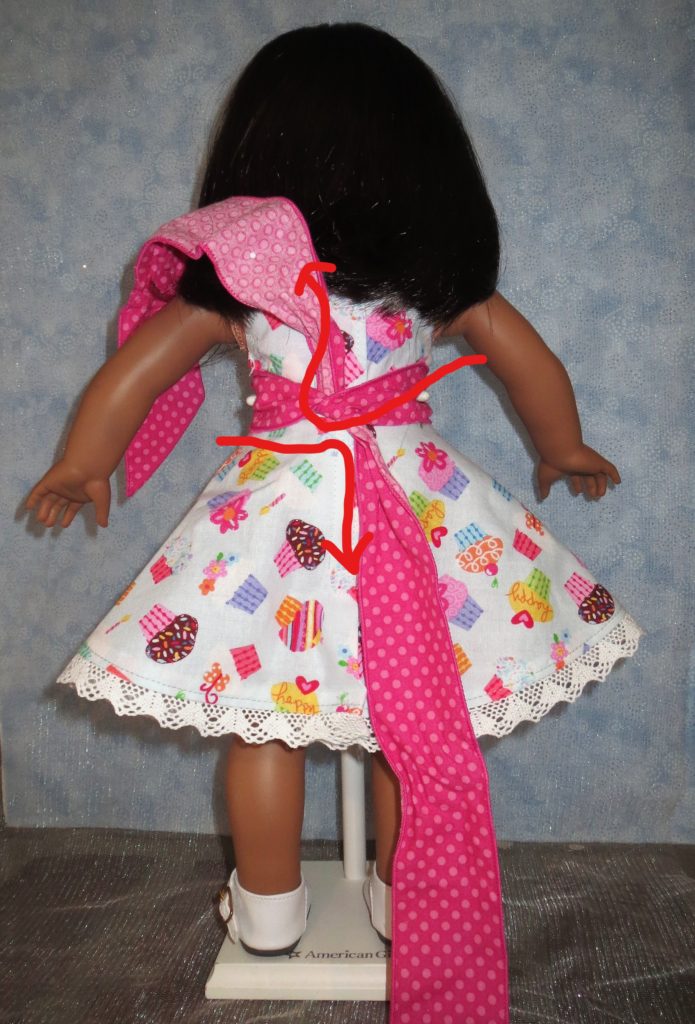
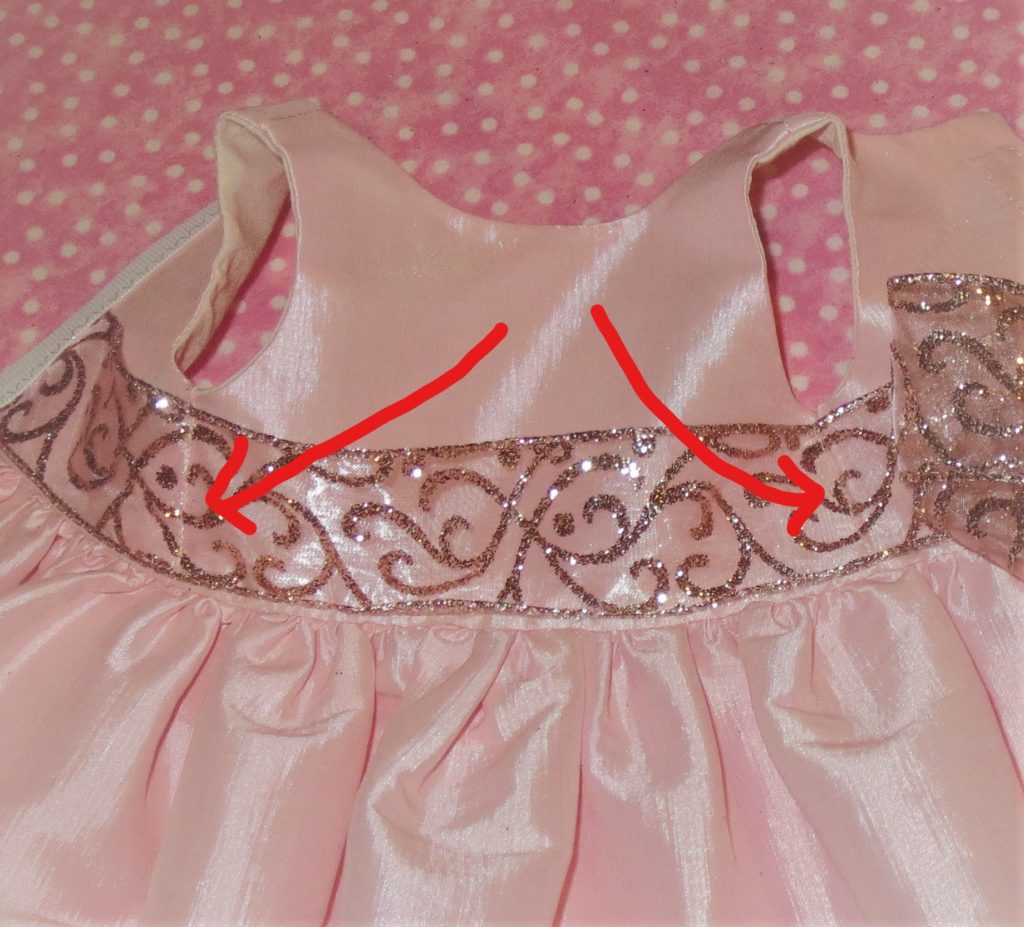
There’s actually a lot to be aware of in this first picture.
The first notes are on the sash itself.
This is a lightweight quilting cotton print, cut on the bias grain.
Yes, I cut my sashes on the bias.
Every time.
Yes, I know that is a ‘waste’ of fabric.
It’s worth it.
The sash will be far more beautiful as that
bias line will allow it more flexibility,
so that it ties and drapes more beautifully.
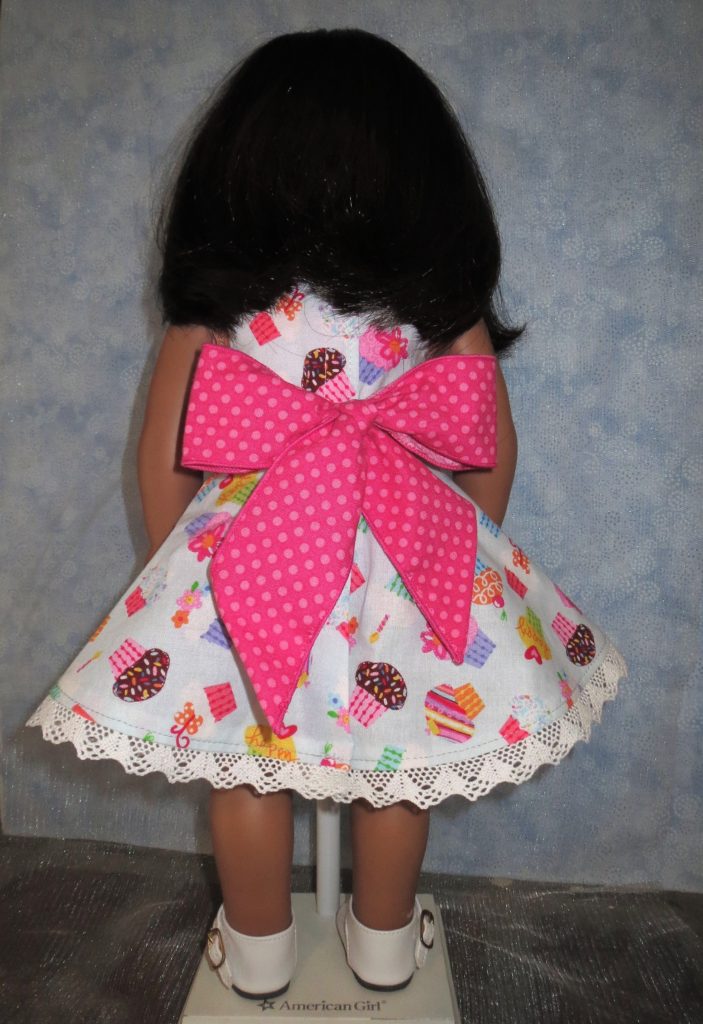
The first picture with the ivory sash?
That was a double layer, which absolutely
MUST be cut on the bias or it just turns out…ugly.
The polka dot? Is a single layer with a serged narrow rolled edge.
The lighter weight makes it a little more forgiving.
You might get by with a sash on the straight grain in that instance.
I still suggest the bias cut.
*I want to say here that I prefer attaching the sash to the dress permanently.
It’s best to tie the sash until you’re happy with the length and placement
of the loops and tails.
At that point, I like to pin the sash to the dress at the side seams.
Stitch across the sash in the well, or ditch, of the side seam, backstitching
a bit at each edge. Let me see if I can find a photo of that…
That step may seem a bit premature since you’ve yet to tie the bow
but I wanted to make sure I didn’t forget to share that tip.
It’s an important point for a couple of reasons.
It will keep the sash and the dress together – no lost sashes!
This anchoring also keeps the sash from shifting while
the tying process is happening and it ensures that the finished tails
will end up relatively balanced.
It’s all about preparing for success, Friends!
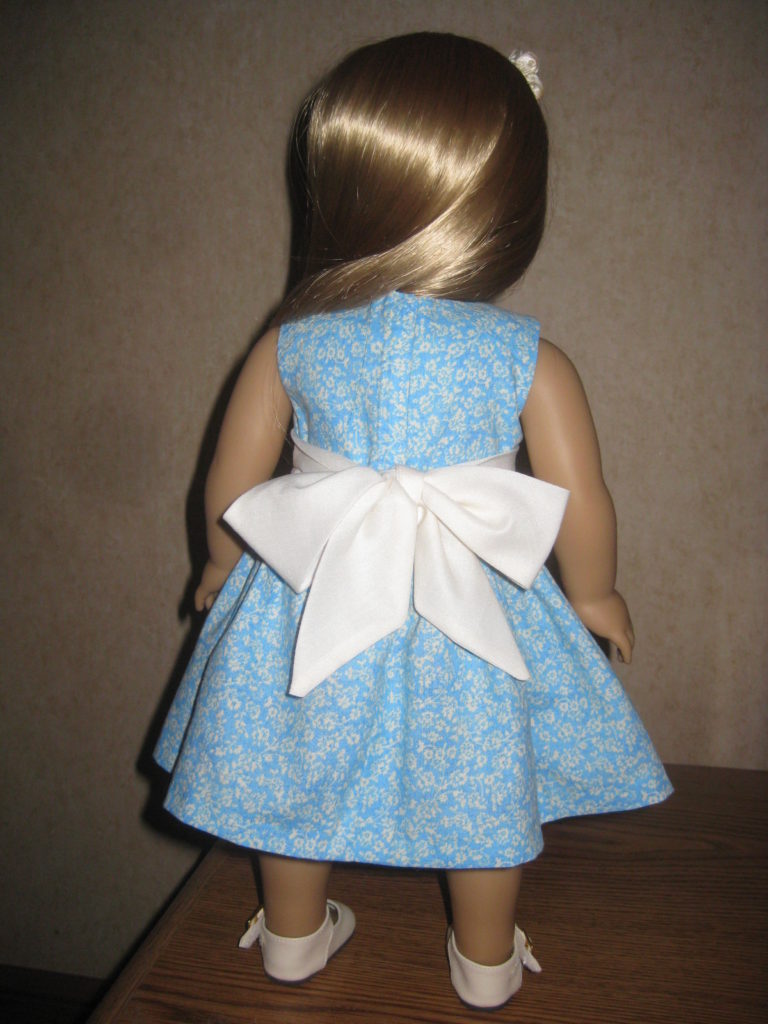
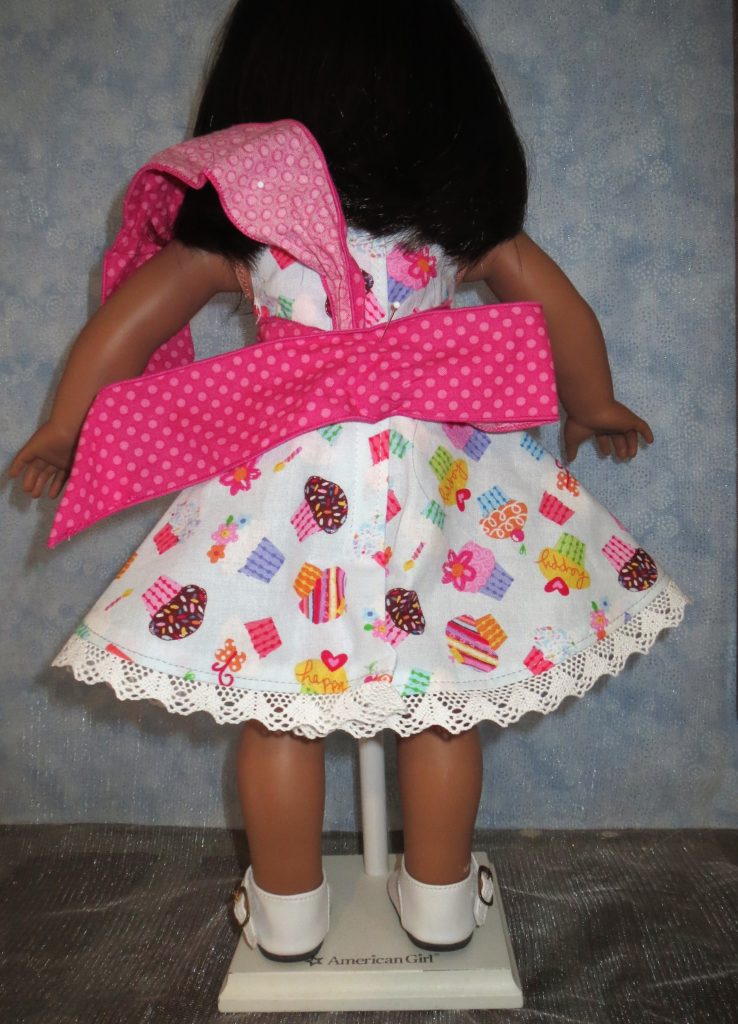
In any case, put the doll on a stand, facing away from you.
You need to be able to work without the doll flopping all over the place.
You might wedge her between your knees if you don’t have a stand.
Let’s post that picture for you again…
Cross the sash tails right over left.
(with the doll facing away, I’m describing YOUR right and YOUR left)
Tuck the right side under and pull it up snugly,
all while pulling the left tail down.
At this point it should look like the photo.
It should be snugged tight, with dolly complaining she can’t breathe.
Pretty sash bows are precise and tight.
They are not sloppy and floppy.
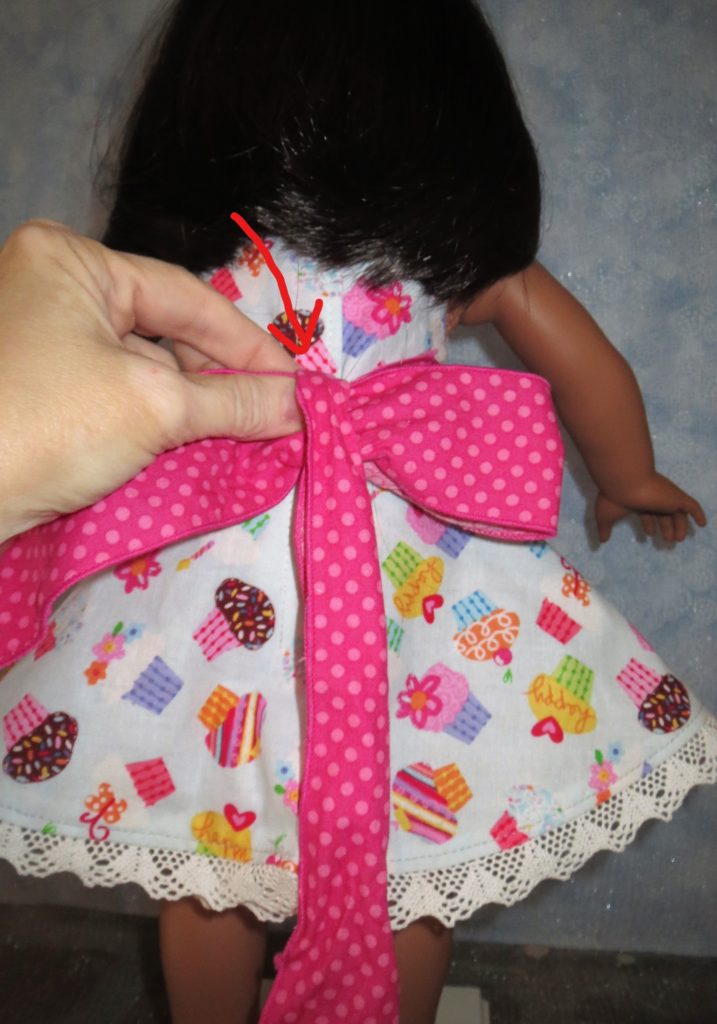
The next step was more difficult to photograph.
I used some pins to hold things in place so you can see them clearly.
Study the photos until they make sense.
It’s all easiest if you are practicing at the same time.
Got a long silky scarf? Loop it around your thigh and practice!
let’s form the first loop.
Drape the right tail up over dolly’s shoulder as you see here.
Form a loop towards the right side with the left tail.
(that sounds tricky, but you can do this!)
Note that the fabric is relatively smooth, right side is facing outwards.
The loop extends to just about the final position you want for it.
Next, while holding the center layers snug,
bring the right tail down over the center, as shown.
Do you see that I folded it so that the width
will not be all bunchy in the center?
This also makes it easier to form the second loop.
The next bit was pretty much impossible for me to photograph.
Forming the loop to the left.
Tuck the right tail up and behind, underneath the center and pull a loop
out towards the left side.
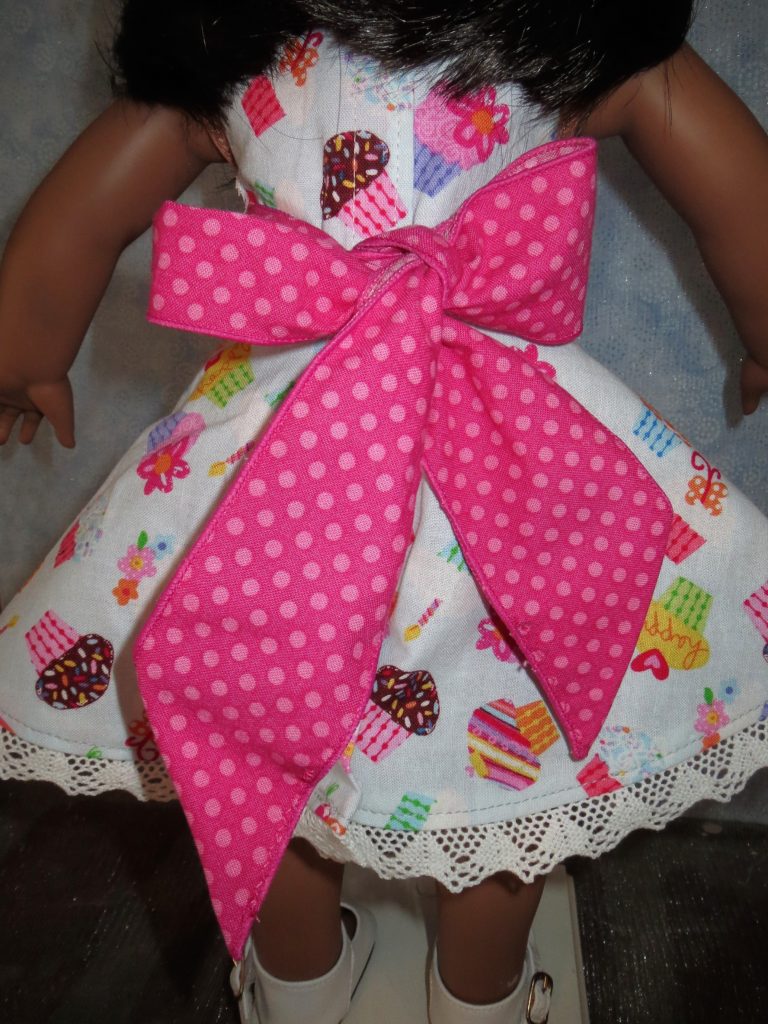
Pause at this point and adjust loops and tails a bit.
Tease out the fold in the left side loop.
Make sure that the right side of the fabric is facing out
as it should be.
Check that loops are very close to the same size and tails
are in position.
When you are happy with your efforts pull both loops firmly
to cinch the knot tight. Done!
Now, if this was your construction effort, consider stitching
the sash to the dress side seams, as outlined above.
It’s optional, of course.
Can I confess?
I sometimes go through this loop formation part of the process
two or three times before I’m initially happy.
Does that sound excessive?
It really only takes a few moments and the resulting pretty bow is lovely.
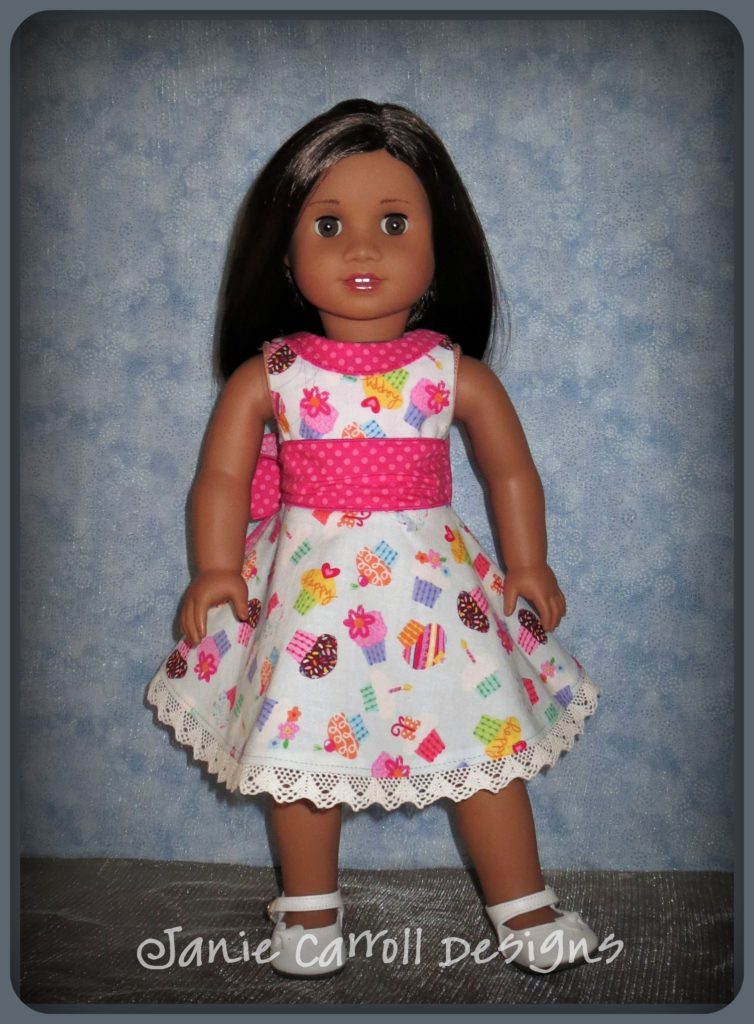
Like this dress? I do too!
This pattern can be found in Erin Hentzel’s delightful book
Doll Dress Boutique.
It’s a favorite of mine.
You should be able to purchase it at book stores or larger fabric stores.
You can also purchase it online. I got my copy from Amazon.
Happy Sash Tying!